QuickBooks Accounting Software for CPAs, Bookkeepers, and Accounting Professionals
QuickBooks helps accountants, CPAs, and bookkeepers manage finances easily. Its simple platform automates tasks, reduces errors, and provides real-time reports. Users can track expenses, reconcile accounts, and generate reports quickly.
We provide expert guidance on QuickBooks, giving you the tools and support needed to stay competitive.

QuickBooks Desktop

QuickBooks Mac

QuickBooks Consulting

QuickBooks Conversion
About us
Who we areWe are independent third-party service provider of your accounting software. We claim no connection or collaboration with any other service provider or accounting support company.
We provide our services keeping in mind complete delivery of genuine and authentic resolution and information. Our ProAdvisor and Technical Support Team authenticate all information after proper Research and Development.
READ MORE
QuickBooks Desktop vs. QuickBooks Online: Key Differences
QuickBooks Desktop (QBDT) runs on local devices and provides detailed tracking, making it suitable for businesses that need in-depth records. QuickBooks Online (QBO) is cloud-based, allowing access from any location with an internet connection. QBO supports remote collaboration, scales with business needs, and offers strong data security.
SMB Accountants handle your accounting, so you can focus on business growth.
Why Use QuickBooks for Your Small Business?
QuickBooks manages invoicing, expense tracking, payroll, and taxes in one system. Its simple dashboard shows real-time finances for quick decisions. Automation reduces errors and saves time, allowing you to focus on growth.
We help small businesses use QuickBooks to improve efficiency and increase profits.
QuickBooks Solutions for Different Industries
QuickBooks supports businesses of all sizes across various industries. We provide services for the following sectors:

Professional Services
QuickBooks simplifies billing and expense tracking, making client account management easier.

Manufacturing
Manufacturers can track inventory, control production costs, and manage financial reports efficiently.

Construction
QuickBooks helps construction businesses track job costs, process payroll, and manage project budgets.

Retail & Wholesale
Retailers and wholesalers can track inventory, generate sales reports, and process supplier payments.

Non-Profit
Non-profits use QuickBooks to manage donations, grants, and expenses while ensuring compliance.

Health
QuickBooks helps healthcare providers manage billing, expenses, and reporting efficiently.

Agriculture
Farmers use QuickBooks to track crop yields, manage loans, and control costs.

Education
Educational institutions use QuickBooks to efficiently manage tuition, grants, payroll, and financial records.
Our Services
How do we provide our services?

Payroll & Salary Processing
Our payroll system tracks hours and automates salary calculations in a few clicks.

Vendor and Contractor Payments
We manage purchase orders, invoices, and accounts payable for smooth vendor transactions.

Employee Expense Tracking
Track expense reports and ensure accurate employee reimbursements easily.

Tax Preparation & Planning
Our tax experts help minimize liabilities with careful planning and reporting.

Bookkeeping Services
Choose Right Accounting Tool for business. Both QuickBooks & Sage software serves the best solutions to make things easy to manage and reduce all paperwork.

Request for Instant Help
If you seek consultation or support regarding QuickBooks and Sage, you can speak with our certified advisors via the Customer helpline number.

Live Chat Support
We have also made available our Live Chat Support to provide service according to customer’s convenience of time.

E-mail Support
Our E-mail address is available on our website. Once you send us e-mail regarding particular query, our team will revert you with respective reply.
Why Choose SMB Accountants?
SMB Accountants provides expert accounting, bookkeeping, tax, and payroll services. Our team delivers accurate solutions with a focus on client satisfaction. Contact us anytime through 24/7 live chat or call to book a session.

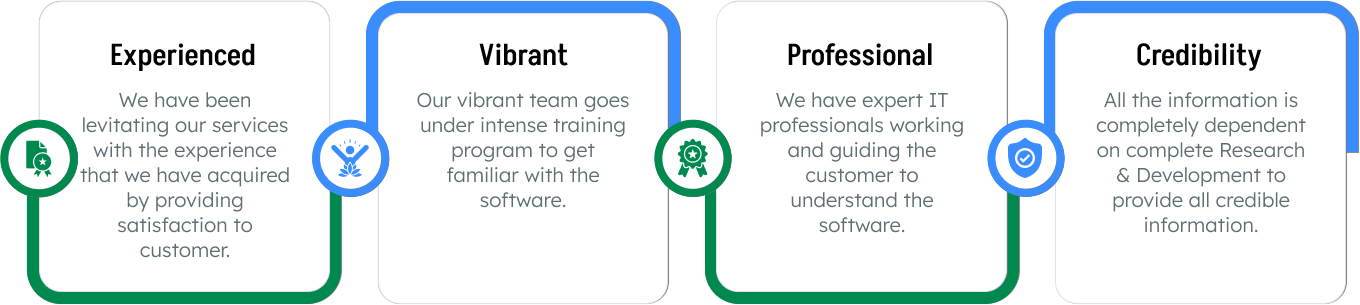
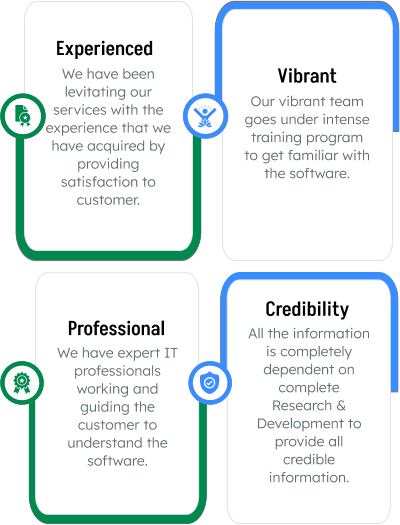
Expertise for Success
Get expert accounting services and real-time support for your success. We help small businesses use QuickBooks to improve efficiency and increase profits.

Software Expertise
Our experts specialize in QuickBooks Desktop, QuickBooks Online, Sage 50, Sage Intacct, NetSuite, and more.

Cost-Effective Solutions
We provide customized online and cloud-based accounting services to match your needs.

Efficiency & Accuracy
Save time, cut costs, and ensure accuracy with our expert accounting team available anytime.