What is E-pay in QuickBooks Desktop?
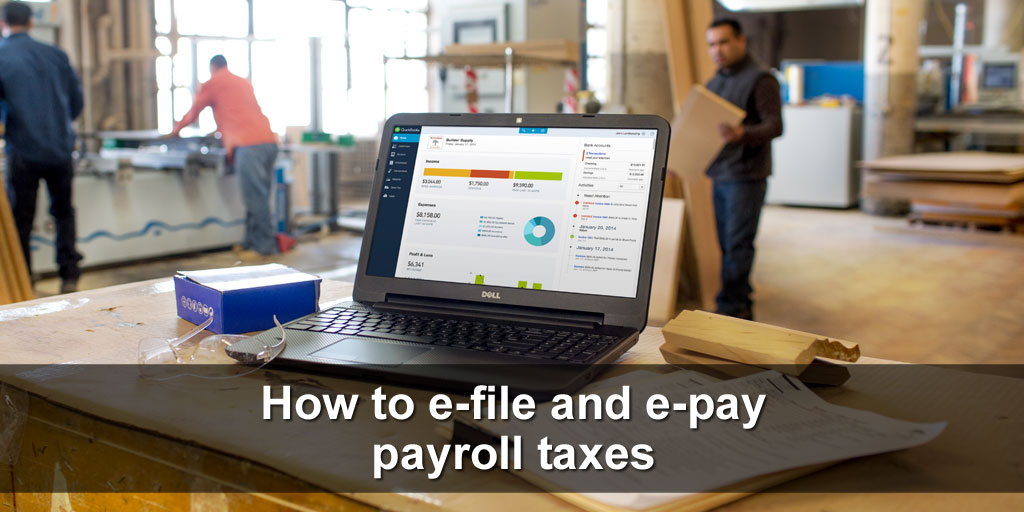
E-pay stands for Electronic Payment. It is a convenient mode of receiving/paying for goods and services electronically. It is a replacement for checks or cash.
Ways of Setting up E-Pay in QuickBooks Desktop
You don't have to print, go for mail checks, and cover any payroll liability if you are using E-pay services. Your E-pay services are just a few clicks away and you are all set to receive and send payments electronically.
Overview
E-pay services are available with QuickBooks Desktop Payroll. If you are to use E-pay or file a payment electronically.
You have to follow certain steps;
- Go for an Enhanced subscription to QuickBooks Desktop Payroll that supports the QuickBooks Desktop version.
- Proper Internet Connectivity.
- Check for the latest available payroll update.
- Now, set up E-pay services.
While checking for the latest update or downloading updates, you may face many errors like QuickBooks Error Code 102 or QuickBooks Error Code 1723. In such cases, you are suggested to get in touch with us through our website.
How to Submit E-Payment in QuickBooks Desktop?
- Open QuickBooks Desktop --> click on Employees Menu --> click on Payroll Center.
- In the payroll center, click on Liabilities.
- Now, in the pay taxes and other liabilities section, click on the liability that you want to pay.
- Now, Click on the View/Pay button.
- The View button will enable you to look into the accuracy of the liability. Once you cross-check, click on the E-pay button
- Enter your login information in the Agency Login windows.
- Now, click on Submit. You will get a confirmation notification stating that Intuit has received your request. Now, you can submit an e-payment to the respective agency. You may print the confirmation.
- Click Close.
How to Activate, Deactivate, or change the Account Number?
If you have to change the bank account number in E-pay under payroll and your set up not allow you to do so as you must have created the accountant copy from it in this you have to import the changes and then it will allow you to make those changes.
You have to follow the following steps to change the Bank Account number in the e-payments.
1. Step One: Active Accounts Tab
You have to check for active accounts where your banking information is already there you can change the routing number and account number on it.
2. Step Two: Inactivate Bank Account Number
You have to go to the chart and completely deactivate the services there.
Set up state e-file and e-pay in QuickBooks Desktop Payroll Enhanced
You must pay your state payroll taxes and file the necessary state forms on time throughout the year to stay compliant with state agencies. Most states allow you to pay taxes and file forms electronically with QuickBooks Desktop Payroll Enhanced. If you want to stay compliant with state agencies, this is the fastest and easiest way.
To use e-file and e-pay in QuickBooks, you must complete a few setup tasks
- If you use QuickBooks Desktop Payroll Assisted, we file and pay your federal and state taxes and forms for you.
- If you use QuickBooks Desktop Payroll Basic or Standard, see Pay and file your federal and state payroll taxes and forms manually in QuickBooks Desktop Payroll.
- Looking to set up e-file and e-pay for your federal taxes and forms? See Set up Federal e-file and e-pay in QuickBooks Desktop Payroll Enhanced.
Step 1: Learn about state file and pay methods in QuickBooks
There are several methods for making payments and filing forms for state taxes in QuickBooks. Here are definitions to help you understand the different methods.
- E-file and e-pay together: The e-payment and e-filing are created in the same step and sent to the state agency at the same time.
- E-file and e-pay separately: The e-payment and e-filing are two different steps and can be created and sent to the state agency at different times.
- E-file only: You can e-file your form, but can’t use e-pay for tax payments. You can create and print the tax payment to send to the state agency.
- E-pay only: You can e-pay your tax payment, but can’t e-file your form. You can prepare and print the tax form to send to the state agency.
- No e-file/e-pay: You can’t pay taxes or file forms electronically in QuickBooks. You can create and print checks and state tax forms in QuickBooks to mail to the state agencies.
- Create a file to upload: You can create a State Unemployment file in QuickBooks and manually upload it to the state agency.
Step 2: Register with your State Agencies
To pay your taxes and file your forms, you'll need to register with your state withholding and unemployment insurance agencies. In addition to providing you with account numbers, tax rates, deposit frequency, and login credentials for their websites, the agencies will also give you access to their payment and form sites.
Step 3: Set up Scheduled Payments in QuickBooks
It is possible to set up scheduled payments in QuickBooks even if you cannot use e-payments. Scheduled payments help you keep track of when payroll taxes are due, ensuring that you do not miss a payment.
- Select Employees, select Payroll Taxes and Liabilities, and select Edit Payment Due Dates/Methods.
- Select Schedule payments.
- Select the state tax you want to schedule first and select Edit.
- From the Payment method, select Check or E-pay.
- Enter your state account number.
- Select your Payment Frequency provided to you by the state agency.
- Repeat steps 3-6 for each state tax. When finished, select Continue.
- Select the bank account you’ll use to track e-payments in QuickBooks, then select Edit. This should match the bank account you used to register with your state agencies.
- Enter or review the Account number and Routing number, then select Finish.
- For e-payments: review the info to make sure you’re correctly enrolled with the state agencies. You can print the info if needed, then close the Enrollments window.
- When you’re done, select Finish.
Step 4: Set up e-file in QuickBooks
You'll need to set up e-filing in QuickBooks if you can e-file your payroll tax forms.
- Select Employees, and select Payroll Center.
- From the File Forms tab, under Other Activities, select Manage Filing Methods.
- Select Continue.
- Select the state form you want to e-file, and then select Edit.
- Select e-file, then select Finish.
- Repeat steps 4-5 for each state form.
- When you’re done, select Continue, then Finish.
E-file and e-pay Federal forms and taxes in QuickBooks Desktop Payroll Enhanced
You must file payroll forms and pay federal taxes on time and in a routine manner. It is a significant task. The QuickBooks Desktop Payroll Enhanced version allows you to file the 940 and 944 forms via the portal or electronically. This way you are rest assured about your compliance with the IRS.
Are you still lacking knowledge about the QuickBooks Desktop Payroll or any other tax-related subject? Go through the below points to have an in-depth knowledge about it:
- If you are a user of QuickBooks Desktop Payroll either Basic or Standard, go to the "Pay" section. It helps to pay and file the payroll taxes and forms.
- In case you are seeking any external QuickBooks assistance, they will file the form for you.
To set up the e-filing structure in QuickBooks you must:
Arrange for Federal E-pay and E-file :
Step 1 is all about ensuring that you have already set up the Federal epay and efile in QB.
Paying Federal Taxes Electronically
To meet the criteria of an on-time federal taxpayer, you must:
- Electronic payment of any tax must be made within 5:00 p.m. PT before the due date and within two banking days. If the due date is over and the tax is still unpaid, the tax needs to be paid via the IRS EFTPS website.
- In case your tax liability amount exceeds $ 10,000 within a liability period, the payment should be through IRS EFTPS. The time is within the next banking day.
To e-pay tax in QB Desktop:
- Click on "Employees".
- Select "Payroll Center".
- Click on the "Pay Liabilities" menu.
- Go to the "Pay Tax & Other Liabilities" section, to select liability.
- Tap on the "Pay" tab.
- Review the details to avoid any discrepancies.
- Choose "E-Pay". In the login window of E-Pay enter the 4-digit EFTPS password and other credentials for login. If your added bank account is new or recently changed, enter the recent PIN.
- Click on the "Submit".
- The confirmation notice appears which states that Intuit has received the request and will forward your e-payment submission to the respective department. Take a print to keep the hard copy if you want.
- "Close" to end the procedures.
The notification email arrives within 48 hours
E-Filing Federal Forms :
- Select the "Employees" menu. In the second step, click on "Payroll Tax Forms and W-2s.
- Click on "Process Payroll Forms".
- Choose the tax form you will be filing.
- Click on "Create Form". Enter the filing tenure and tap "OK".
- Review every part of the form. To make corrections, select "Check for errors".
- Choose "Submit Form" and then "E-file".
- Follow the on-screen prompts, enter the IRS E File Pin (10 digit) and continue with the filing.
The notification email arrives within 48 hours
Set up Federal e-file and e-pay in QuickBooks Desktop Payroll Enhanced
Step- 1: Register in IRS EFTPS (Electronic Federal Tax Payment System)
This is a one-time enrollment. Not sure about your enrollment
- You have to enroll if your business is after 2011.
- For businesses that started before 2011:
- Click on EFTPS.gov. Navigate the "Enrolment" menu. To submit it follow the prompts on screen.
- Your PIN and enrollment number will be mailed to you within 7 days.
Note: If your payment date falls within these 7 days, call the IRS at the above number. If your info matches their record, an agent will take charge of your payment. The agent will not deliver the PIN over the call for security purposes.
After receiving the EFTPS PIN (4-digit):
- Click on EFTPS.gov.
- Navigate the Login menu.
- Enter credentials like bank account or enrollment number, and PIN. Continue unless the password is created.
Step 2: Setup and Schedule your E-payment
- Click on "Employees".
- Go to the "Payroll Taxes & Liabilities".
- Go to the "Edit Payment Due Dates".
- Choose "Schedule Payments". Now choose the form from the Federal section.
- From the payment schedule editing window, change to E-pay.
- Enter the interval in which you will be paying.
- Go to E-pay accounts, select the account type, and check whether the bank details are correct or not.
- "Finish" to complete.
Methods to Setup E-File
Step 1: Create the Federal Filing Procedure
- Click on "Employees".
- Go to the "Payroll Tax Forms & W-2s".
- Go to "Process Payroll Forms".
- Go to "Manage Filing Methods" under the "Other Activities" list.
- Select the method of filing first by selecting the federal form and then "Edit".
- Select the individual as the filing person.
- Choose E-file and "finish".
Step 2: Registering in the IRS E-file Payment Program
- Go to "Enrolment" under the filing method.
- Choose " IRS" and click on "Edit".
- Enter all the company credentials as per the on-screen prompts. Hit on "Next".
- Enter the details of the person like email ID, contact number, name, job title, etc., and again "Next". The person must have a direct link with the company.
- Hit on "Send Information".
The PIN is sent via mail. If you have not received the mail, follow the above steps to resend the request.
Need Professional Help?
We are among genuine and very reliable sources of information when it comes to QuickBooks, QuickBooks errors & resolutions, and any other respective information. Visit our website to get any time solution and information. Live Chat Support is also there to provide you with assistance.


